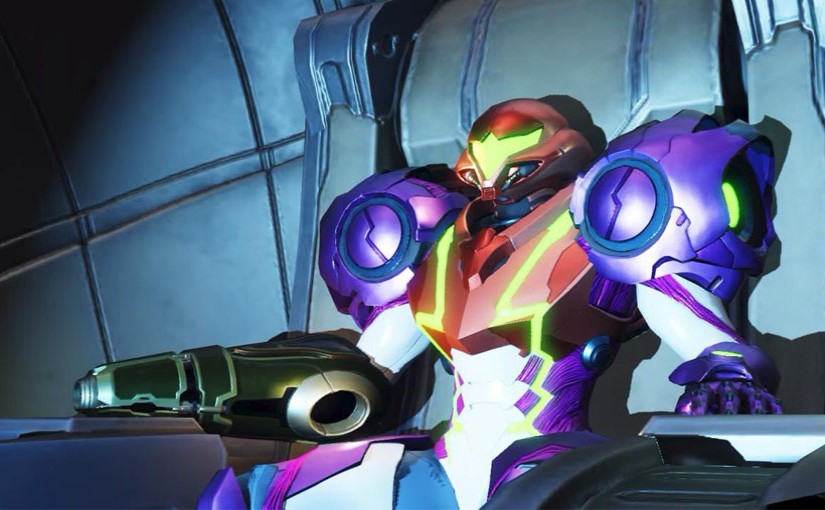
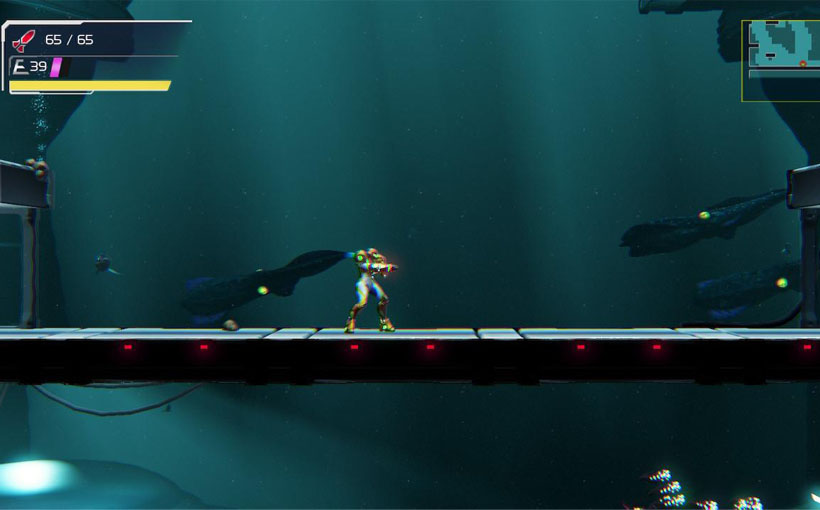
I’ve never played a Prince of Persia game before! Not the old ones with the rotoscoped animation and the punishing gameplay, or the more recent ones with the parkour-based platforming and the multiple reboots. Having gotten into Metroidvanias in recent times, I decided that Prince of Persia: The Lost Crown might as well be my introduction to the venerable franchise, and picked it up physically on PS5 for the criminally cheap price it’s reaching nowadays. So join with me now as I head into the mysterious and dangerous labyrinths of Mount Qaf! I’m sure we’ll have a royally good time.
Session 1 – 17th October
First off, amidst all the screen brightness settings and what have you, there was an option to turn navigation on or off. It seems that putting it on would point out different objectives and pick-ups on the map to help beginners. I chose to leave it off, I’m a seasoned pro at Metroidvanias now after all. I’ve played at least four.
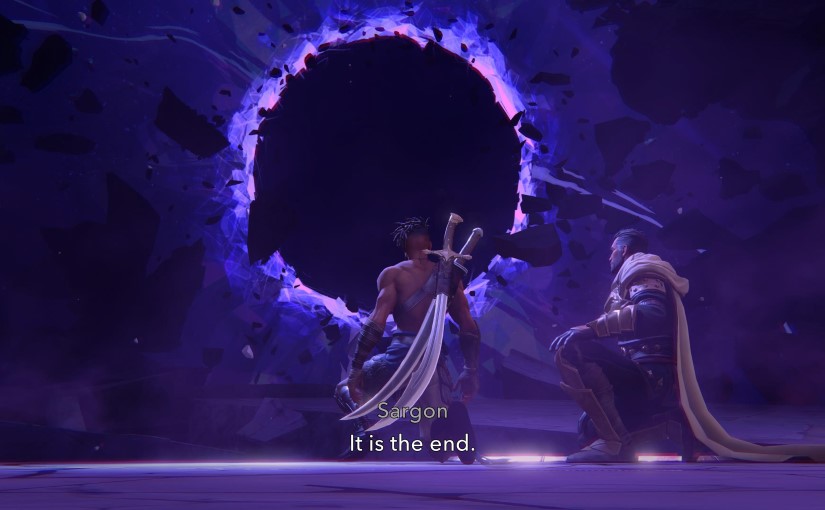
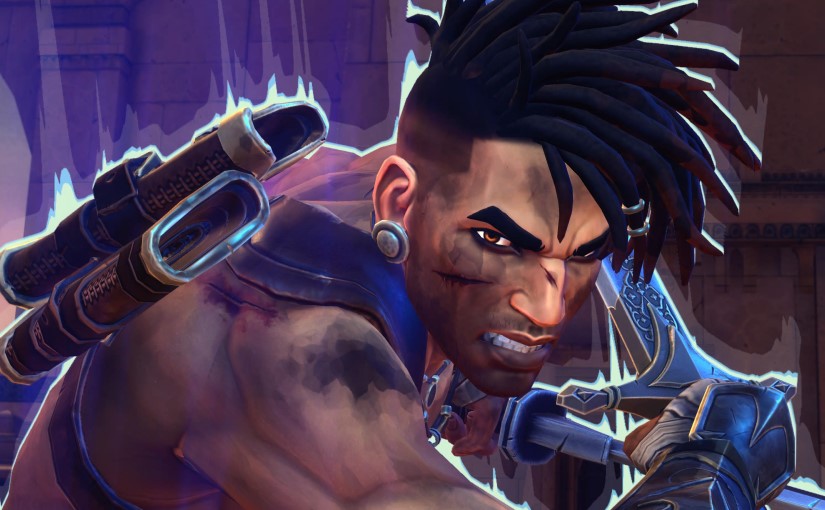
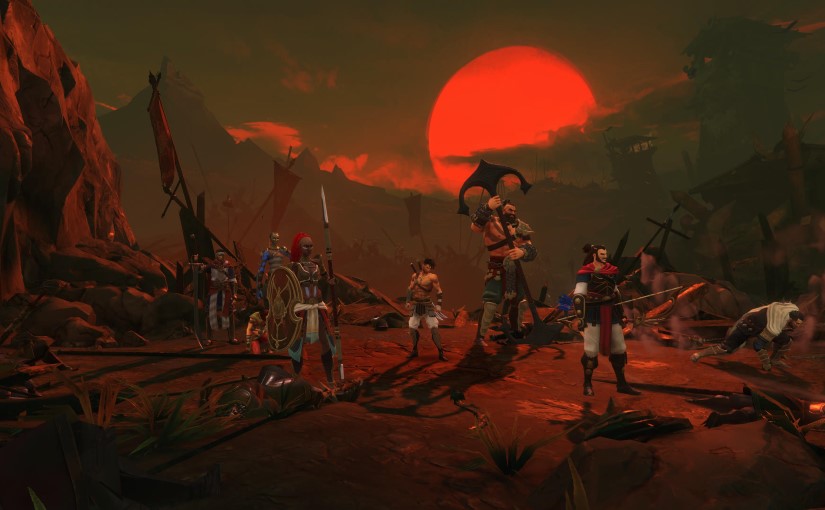
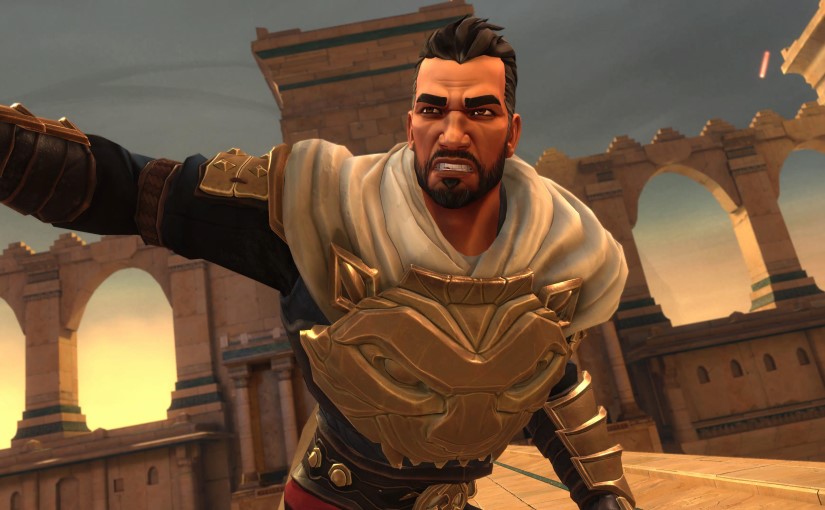
The opening cutscene used static art, talks about Persia suffering through thirty years with no rain, and describes an attack by people called the Kushans. Things were bleak until the “seven immortals” arrived on the scene. These were the best warriors in the kingdom, and one of them is put under my control. It’s time to say hello to the super-handsome and ripped (and admittedly very cool) dual-wielding swordsman, Sargon. We negotiated an eerily lit battlefield, fought alongside our fellow Immortals at different points, and took out a general on his horse in a battle that kind of reminded me of the second boss in 2006 Ninja Gaiden, although nowhere near as difficult.

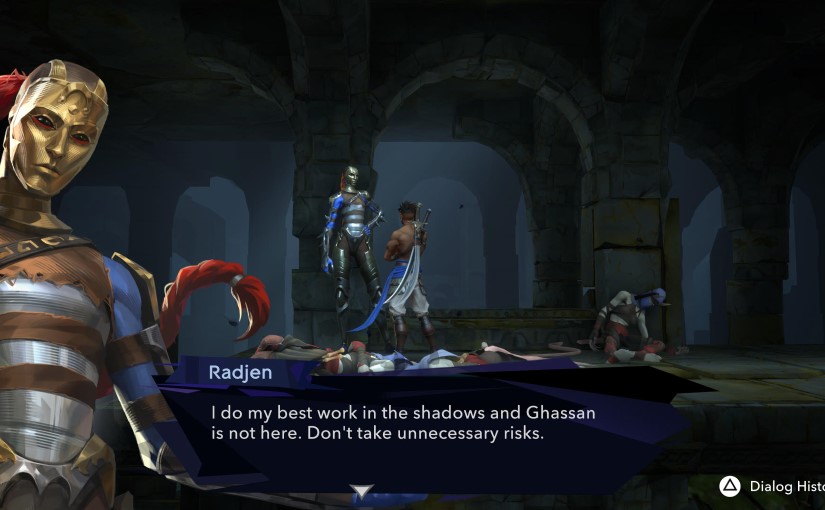
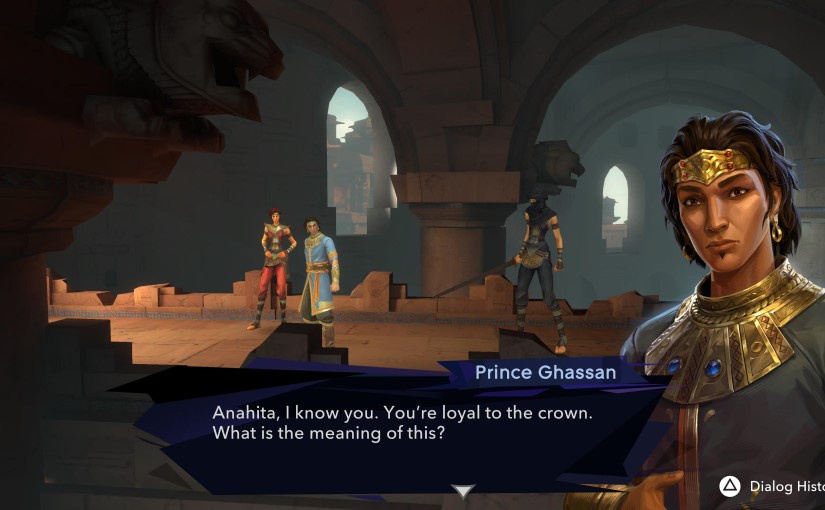
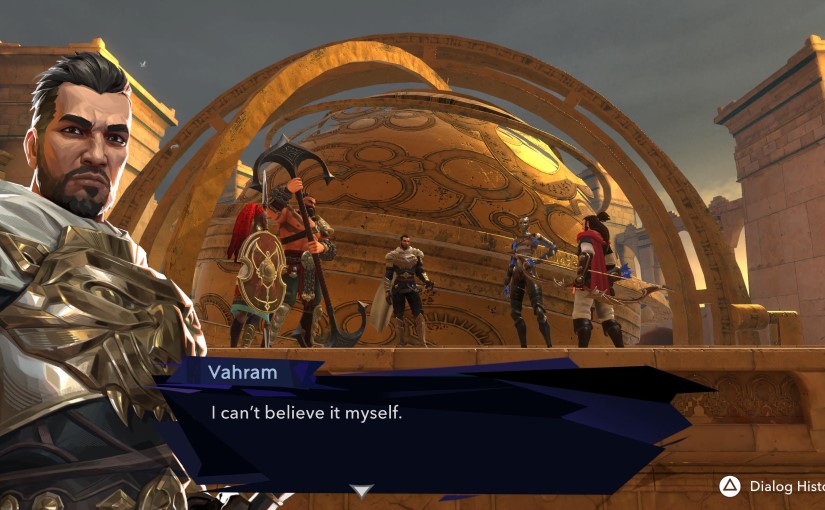
There was a bit of a celebration at the palace after this, but there’s an ill wind blowing (there’s literal talk of winds of destruction and other such bleak, windy concepts). We’re introduced to the Prince of Persia, a fellow named Ghassan that everyone pronounces Hassan. I may have played a Prince of Persia game now, but I still haven’t played as the titular royalty. Anyway, Sargon is given a sash by the Queen of Persia and then retires to the rooftop with his fellow immortals. They have a bit of banter to further introduce the Immortals but I failed to take down any of their names. There’s a big guy who wields an anchor of some kind, an archer guy who reminds me of Bard from the Hobbit films, an older fellow with a longsword and a mask on half his face, a heroic-seeming guy in a white cloak who appears to be in charge, a tall lady with a spear and long, red dreadlocks, and an even taller lady in a scary mask. She’s missing from the rooftop banter session, but she soon turns up to inform the group that the Prince has been kidnapped. I knew there was an ill wind blowing.
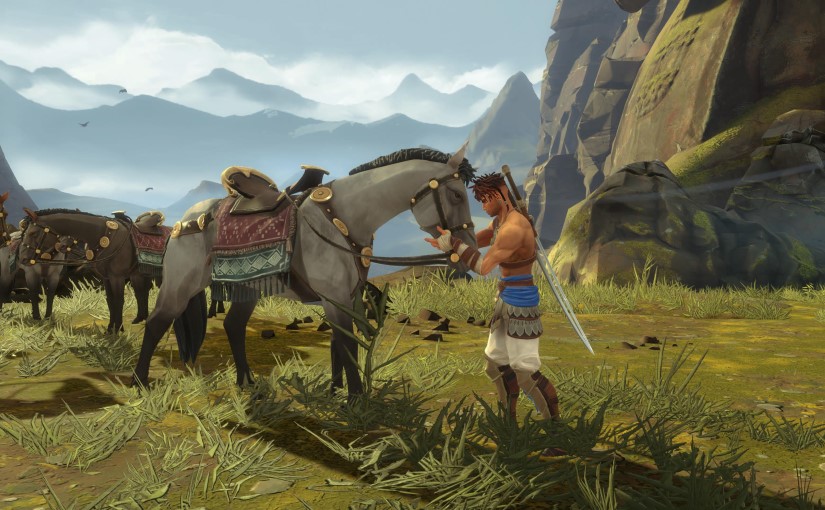
It soon became apparent that Sargon’s trainer, a lady called Anahita, took him, so Sargon is emotionally invested, and we fought some of her minions. I like the combat early on. It flows and feels flashy. A simple combo, dodge, and parry system with special moves similar to many games of this type. The graphics are cool, too. I like the 3D world even though the gameplay is on a strict 2D plane, and the character models are excellent and have a painterly feel. I like it!
One thing I did notice in this opening sequence though, is that even though Sargon seems to be built like a guy of at least average height, everyone seems to tower over him, from his fellow immortals to the palace guards. Only Bard the Bowman is of equal height. As a fellow of over six feet I cannot relate to this.

Anyway, the Immortals, Sargon, and I chased the Prince and his captors to a nearby mountain called Mount Qaf, which seems to have mystical properties, and Sargon’s companions deduced that Anahita might be trying to gain the throne by using the Prince’s royal blood to get through a mystical door or something. An old, abandoned city seems to be on the mountainside, and the area is littered with twisted corpses that are definitely going to come to life.
They came to life.
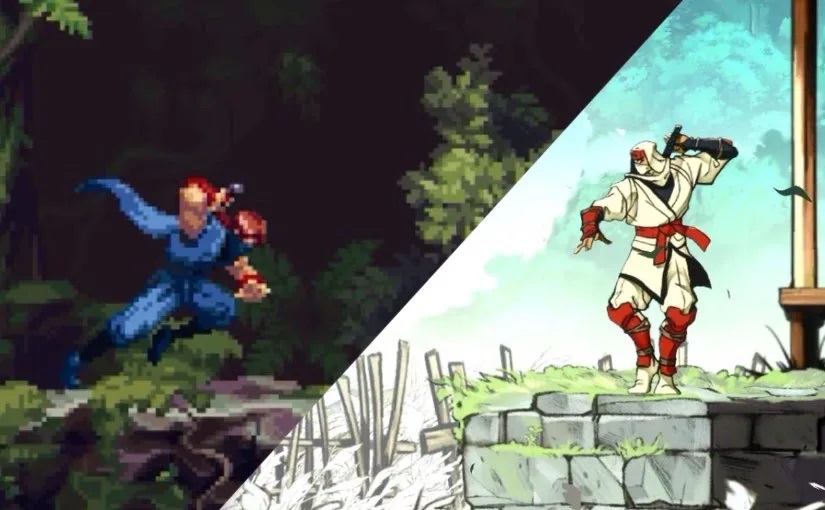
I’m struggling to figure out if the combat is easy or difficult at this point. Everything is very straightforward and the enemies give plenty of warning for their various attacks, but I’m still managing to get caught out. It doesn’t help that I’ve come off the back of recently playing Shinobi: Art of Vengeance, and am expecting Sargon to share Joe Musashi’s moves and agility. I don’t mind admitting that I let Sargon die a few times.

There’s also a mechanic where you can take screenshots of areas that you think you might need to come back to. I’m not sure how necessary it is – like I said, I’m clearly a Metroidvania pro now – but I’ll try it out.
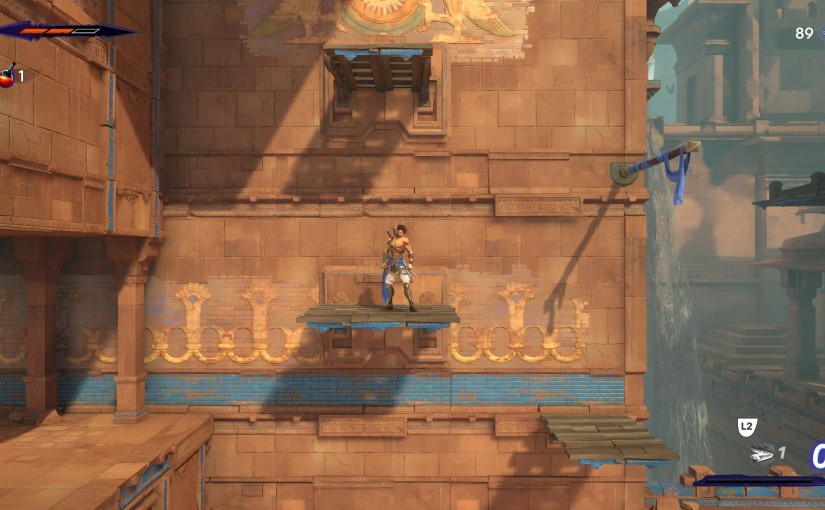
We hit some strange crystals that caused a statue frozen in a broken, falling state to reform and let us reach new areas, and there definitely seems to be a time vacuum thing going on. There are undead people who claim to have been here for thirty years too but the team seems to think that they got there the day before, and there are some NPCs that seem to have been trapped for that long without realising how much time has passed. There were also hallways festooned with spiky traps which seems to very much call back to the classic Prince of Persia games, which I appreciated despite never having played them.
We met a child who seems to dwell in the mountain, and later found a lady in a placed called the Haven who can sell us amulets and things. There’s also a blacksmith deity in this area for upgrades, and one of the Immortals takes up residence in this same safe area and offers training. It’s the older guy with the half-mask. I forget his name. Speaking of which, people keep mentioning someone called Ardashir as if I’m supposed to know who that is but I must have missed it. I’m pretty sure they’re not any of the Immortals.
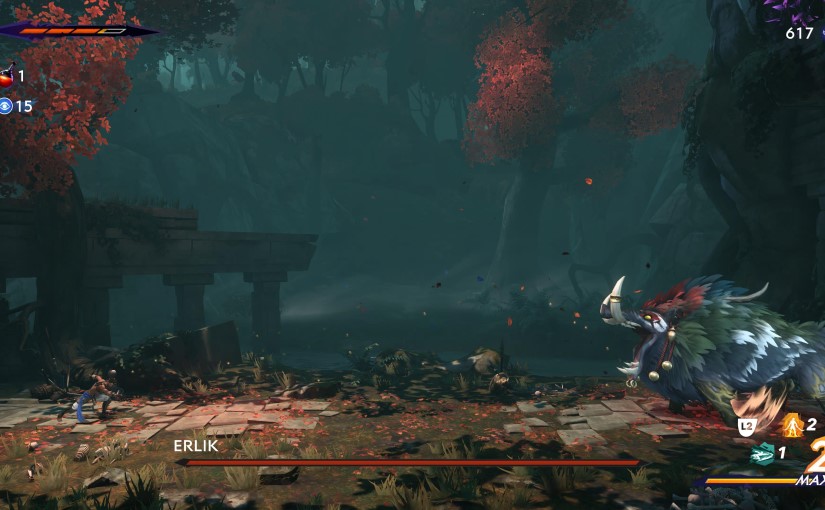
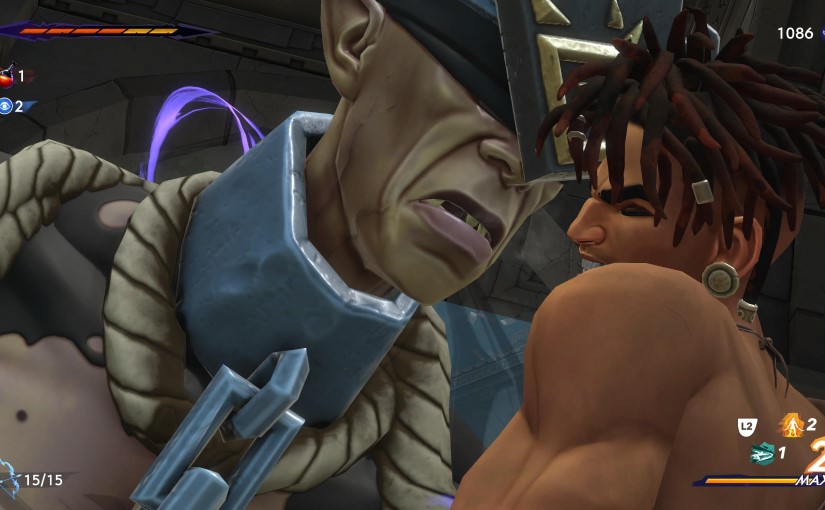
To finish off this session, Sargon and I found one of the save point trees that had a talking head in it that reminded me of Mimir from the modern God of War games, (and it was at this point that I decided I’m not too sold on the voice acting) and then we fought a giant, brutish boar. Beyond this Sargon found a deceased version of himself alongside Bard’s bow (I forget the bow guy’s real name, too, sorry. I’ll get them all before the end, okay?). This bow means that we can shoot an out-of-reach crystal and get back on the prince’s trail! I’ll do that next session, though. I’ve had enough prince hunting for now.

Session 2 – 17th October
I found some more time to play on the same day! But this session would be a short one.
Instead of going after Princey, Sargon and I decided to do some more exploring. The game seems to encourage exploring early on more than most Metroidvanias I’ve played, although maybe again I’m basing that on the very combat-focused Shinobi: Art of Vengeance, which has Metroidvania elements but probably couldn’t be classified as one.
During this exploration session I observed that I would often go to use the d-pad to move, but you can only move Sargon using the analogue stick, and down on the d-pad takes a screenshot for the map screen. I do quite like this screenshot mechanic now, as making use of it reduces needless backtracking if you’ve forgotten why you couldn’t get through an area and go back there with a new ability only to realise you still can’t get through. It also has limited uses to discourage screenshot spam, but I haven’t got anywhere near the limit yet.
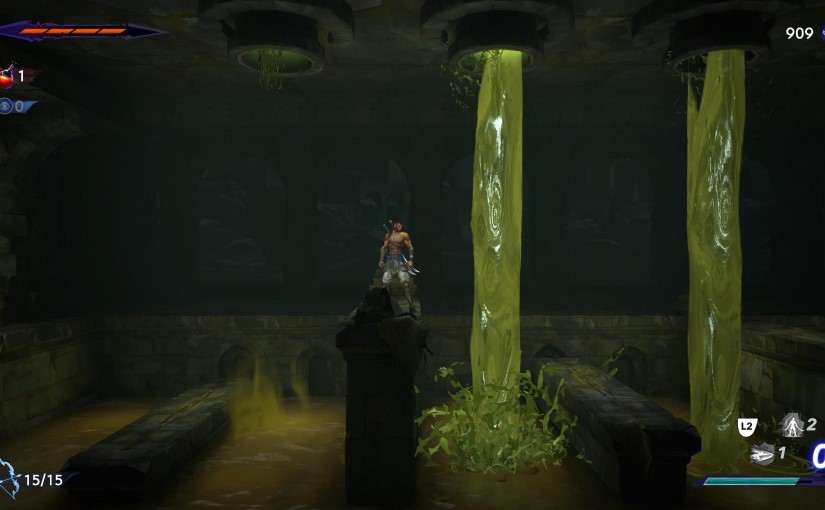
We explored for a while and found mostly temporary dead ends, and were on our way to go after the Prince when I remembered the giant elevator in the middle of the map which opened up another huge area for us to explore, so we did that. I then also remembered a spooky sewer-like area in the depths of the map that the tall, masked lady told us not to bother with back along. We mooched around there for a while but the enemies were kind of tough and we never found a respawn point so we decided to come back later.

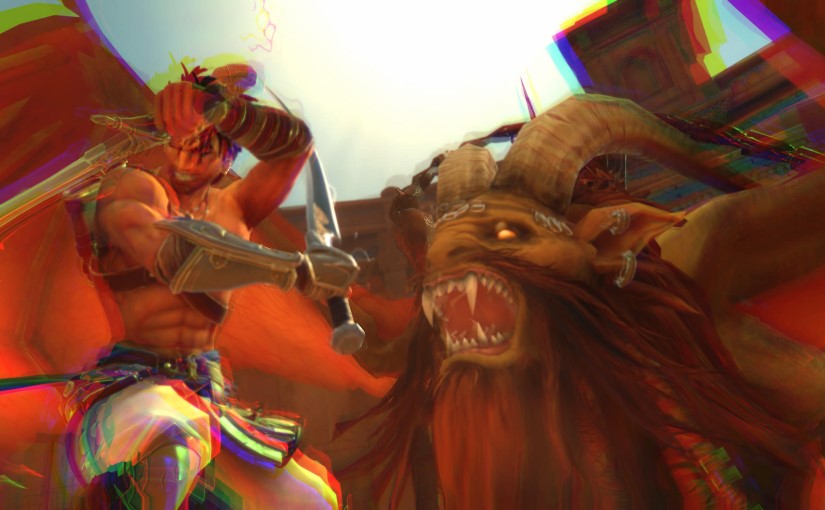
We set off after the Prince, and this new area led to a boss fight in a ruined arena with a big, scary chimera-type creature. We beat him first time and received a sparkly feather which enabled Sargon to air-dash just like Joe Musashi, and it uses the same button too! I was very happy with this as I’d been trying to do it all the time anyway. Doing the air-dash also makes a sound effect come out of the controller, a feature that Prince of Persia: The Lost Crown seems to make use of often.

Despite beating a scary monster there was still no sign of the missing Prince, so we went back to exploring with the new air dash and we finally unlocked fast travel, which is possible between strategically placed statues around the map.
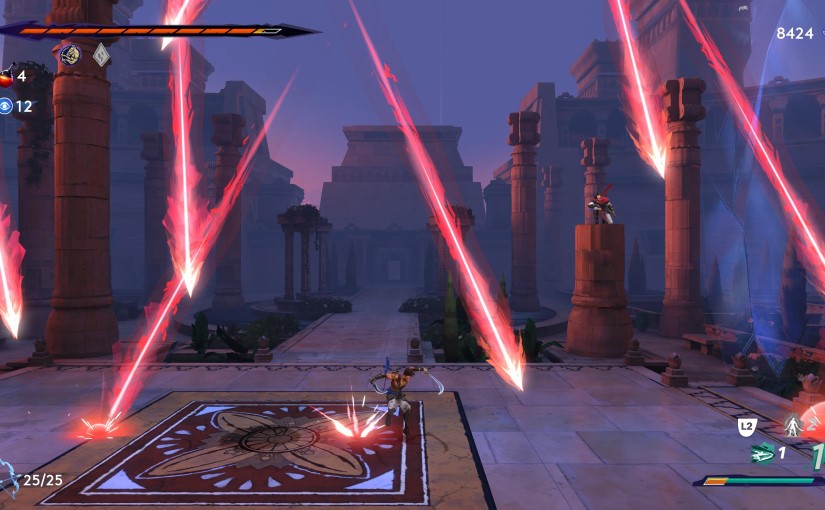
After a while, Sargon finally spotted Anahita and the Prince off in the background, and we overheard Anahita telling her guards not to be too rough with him. Is she going to have honourable intentions? One of the Immortals (the leader fellow in the white cloak) showed up to help during the ensuing fight with Anahita’s (incredibly skinny and lanky) minions while Anahita and the Prince scurried off somewhere.

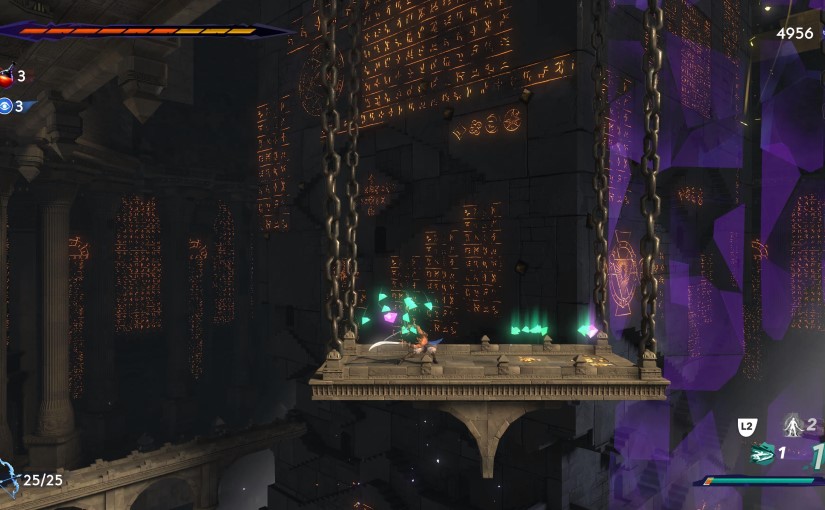
The next area after this was an enormous archive of knowledge inhabited with mad alchemists, and the boss stalks the area. He seems to be a blind fellow capable of one-hit kills and there are sections where Sargon must avoid his hearing radius or risk being smushed by the boss’ big, horrible stick. This reminded me of the E.M.M.I. areas in Metroid Dread. I decided to quit at this point, but not because I was scared, okay? The wife had come home from work and it was time to get some food. Priorities, you know.
Session 3 – 18th October
We decided to start this session by heading down into the Depths area again but we passed by the Haven on the way. The little girl’s name is Fariba and she sells maps and hints for time crystals. We’ve bought the maps when she’s offered them but have resisted hints so far. There was also a new door in the Haven that goes to a challenge room. Sargon and I tried the first one and it was a dangerous platformer section in the vein of Shinobi: Art of Vengeance’s Ankou Rifts, but I think more difficult. We decided to come back later. Maybe.
A similar decision was made in the Depths. We got further in but the enemies were still kind of a pain and we still couldn’t find a tree, so we headed back to the Archive area and tried to make some progress. We quickly found a fellow referred to as the “Moon Gatherer” and this kicked off another side quest. The game gives you the option to decline side quests but I don’t see any reason not to just accept anything, so that seems strange. This Moon Gatherer is another one who absolutely towers over Sargon, and this especially brought home the height discrepancy thing to me. What is going on here? Is Sargon some kind of pixie man?
Anyway, after some further exploration I accidentally let Sargon get caught by the big boss guy who stalks the Archive. He zapped us into a prison with his nasty stick, but it was very easy to escape. Exploring this area Sargon apparently got possessed by a horrible enemy with a long, tentacle tongue and was stuck on one health bar. I found myself wondering if a tree would cure this possession but Sargon got killed before we had the chance to find out.

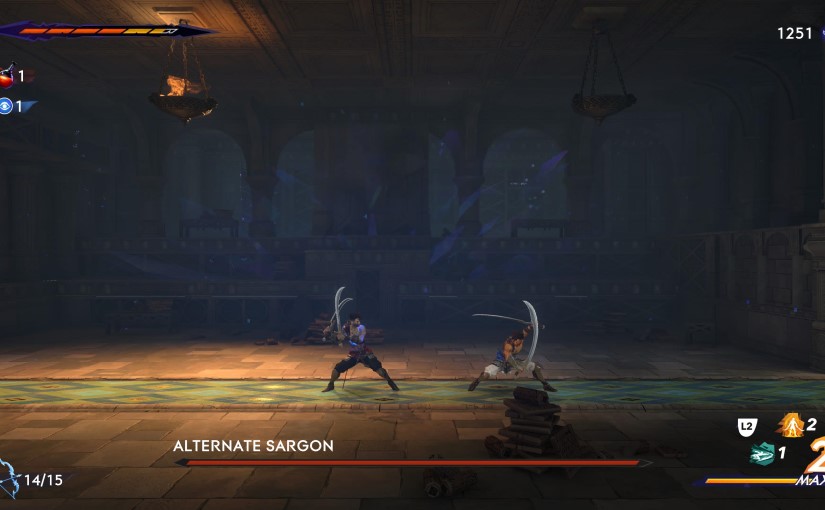
Not long after this we came across another Sargon! This one was very much alive and said something about needing our power because we want the same thing, and we had to fight him! We beat him first time, though, and unlocked a new special move.

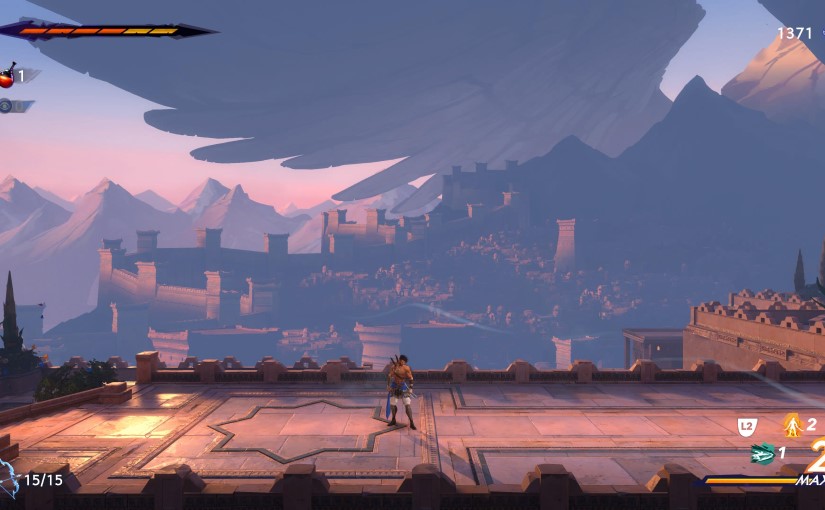
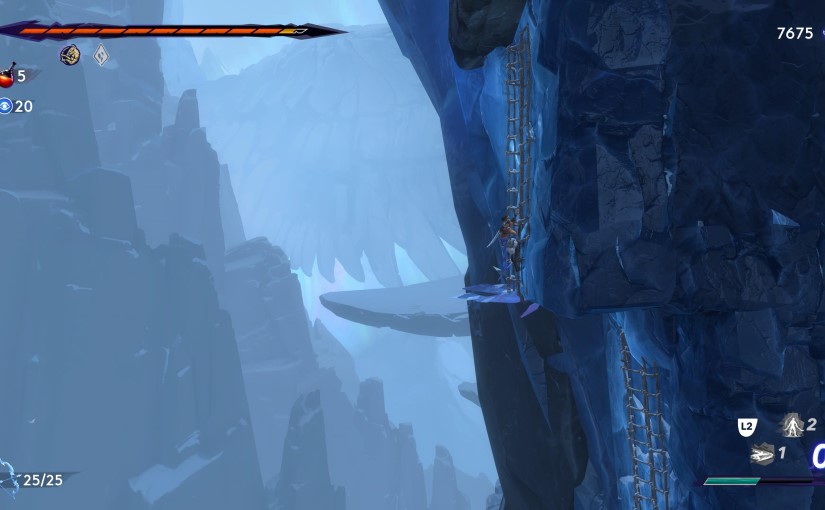
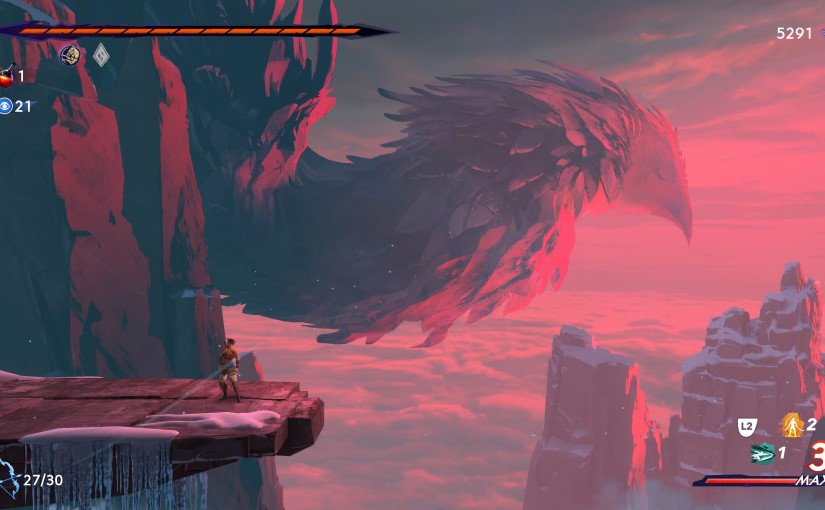
Continuing on we found another external area with quite the view. There was a gigantic, and I mean gigantic, wing in the background, apparently made of rock. Following this area took us to the very top of the elevator mentioned earlier on the other side of a trap door that couldn’t be opened from below. There was a stretch where Sargon had to fight off a flock of harpies and some of Anahita’s guards and we got killed here a lot. I really think I’m still suffering from the Shinobi muscle memory, as I tend to jump into battle with multiple enemies expecting to be able to outmanoeuvre them, hit and run, and get away scot free, but Sargon can’t do that, and we ended up surviving this stretch easily by moving forward more cautiously and taking on enemies one or two at a time. That’s the key I think.
There were some nasty new enemies in the next area and the way Sargon had to manoeuvre to get to them left him open to attack when he leapt to the platform they were on. We perished a couple of times and I decided that it was time to go to bed. It was getting late and I was tired of dying on a cursed mountain in ancient Persia.

Session 4 – 19th October
We started Session 4 by going back to Haven for some upgrades, and then started to progress towards the mountain top. We met a crazy looking old fellow who said some cryptic timey-wimey stuff, and then took in some pretty awesome and inspiring scenery before finally catching up to the Prince outside a big building that looked like a giant astrolabe type thing.
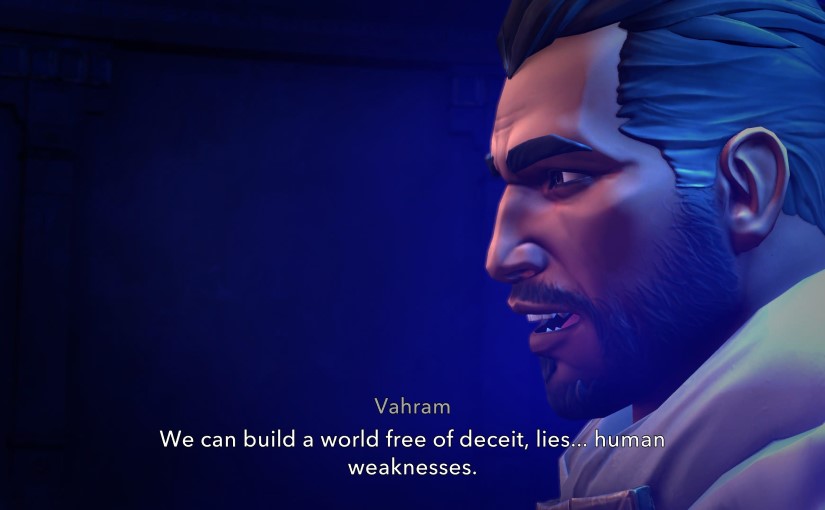
As Sargon and I went to confront Anahita, Vahram turned up and full on killed Prince Ghassan graveyard dead. What the heck? He’s the bad guy! We then had to fight Vahram and he beat us. I feel like I could have won this despite the fact that parries and special moves did nothing, but it would have been a grind and I have a feeling it would have ended up with the same cutscene anyway. Vahram got dark, time-based towers, revealed he wants to rule, beat up Sargon and threw him off the temple, then went about his business. Anahita managed to slip away thanks to Sargon’s heroics. It was all good stuff!
We then got a quick origin cutscene of Sargon meeting the Immortals, looking all frazzled and scrawny, with glowing blue eyes. He wanted to fight Vahram and, though he lost, Vahram welcomed him into the ranks of the Immortals. What’s going on there, then? I made a note here that the archer, who I’ve been calling Bard, is actually called Menolias. He still looks like Bard, though.
Anyway, down at the bottom of the pit Sargon was thrown into, he wakes up, and the weird old man is there. The old man took the artefact that enables us to use the map and stuff, so we had to give chase. We’re back in the Depths and we can’t back out this time. Also, the music here sometimes has a very unsettling scream in it.
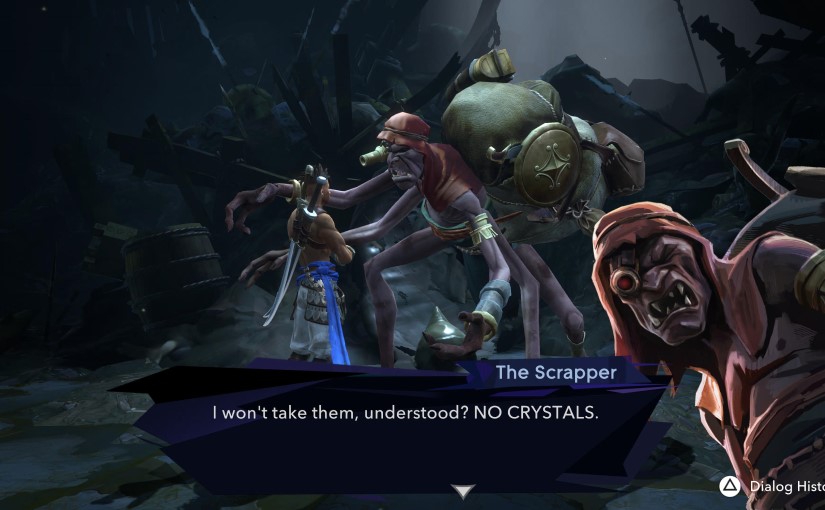
A long chase through the Depths with no map to help us ensued, and we encountered a horrible spider man who sells stuff for the other type of currency we’ve been finding called Xerxes.

Eventually we followed the odd old fellow to a room with some time warping effects going on and another fight with another Sargon ensued. This is a Sargon who “chose a different path”, and we beat him the second try and got another special move. We also found another feather which gave Sargon a cloning type ability. I initially assumed that it would be used for “two-switches-at-once” type puzzles, but it actually leaves a crystalline echo of Sargon that he can then warp to, which definitely unlocks some interesting puzzle and combat potential.
While this feather was claimed there was a big, crystalline bird looking down at Sargon from the background, and I think it’s the same somewhat intimidating bird that’s spotted briefly in the game over screen. This is “the Simurgh”, the power behind Mount Qaf that approves new rulers.
The old man finally gave us our map back (although apparently he never took it, but I couldn’t bring up the map so he did something), and said that Ghassan can still be saved, probably using time stuff. Sargon and I have to go to a place called the Pit of Eternal Sands and confront some scary-sounding entity next, but there’s more exploring to be done first.

On the way out of the Depths (you can only fast travel from fast travel points, not from anywhere on the map) we ran into the red-dreaded warrior lady. Her name is Neith, and she asked Sargon if it’s true that he killed the Prince. We get a cutscene that shows Vahram telling the other Immortals that Sargon killed Ghassan and that he and Anahita got away, and he also tells them that he’s going to become ruler as the Queen has had her chance and the kingdom has suffered 30 years without rain and a Kushan invasion. I got all their names here. The scary mask lady is called Radjen, and she seems very keen on joining Vahram’s bid for the throne, as does Menolias. The big guy is called Orod, who also seems on board with Vahram, leaving only Neith who still wants Sargon to have his say. Lucky we ran into her first, then, because she believes Sargon and decides to stand against the other Immortals.

There’s also the Immortal who stayed at Haven, the half-mask older guy. His name is Artaban and he seems to be staying on-side with Sargon, too.
After these sweeping story developments me and Sargon explored the Depths a bit more and found an even darker and creepier location called the Catacombs. We turned back for the time being and headed back to the Haven for some upgrades before wondering into yet another new area back past the Archive where many of the enemies were invincible thanks to hard-to-reach mages giving off some kind of invincibility aura. The map just keeps expanding and expanding!
Feeling a little overwhelmed by all the new areas, Sargon and I headed back down to the Haven and upgraded our swords one more time before calling it a session. It was lunchtime, and the child and I were hungry.
Session 5 – 19th October
A late session this time. I’m very aware that my copy of Ninja Gaiden 4 will be arriving in the post in a couple of days and am wanting to get this game done. However, it’s gonna take as long as it takes. Sargon and I headed to the Catacombs, hoping to get the story moving as it looked like the nearest place to the Pit of Eternal Sands.
The Catacombs had a nice atmosphere, and by that I mean a dark, dreary, and unsettling atmosphere with spooky music, dark, scary holes everywhere, and gross matter stuck to the walls and floors with egg sack-like things scattered about. It’s so dark that a fiery eye creature had to accompany us to light the way.
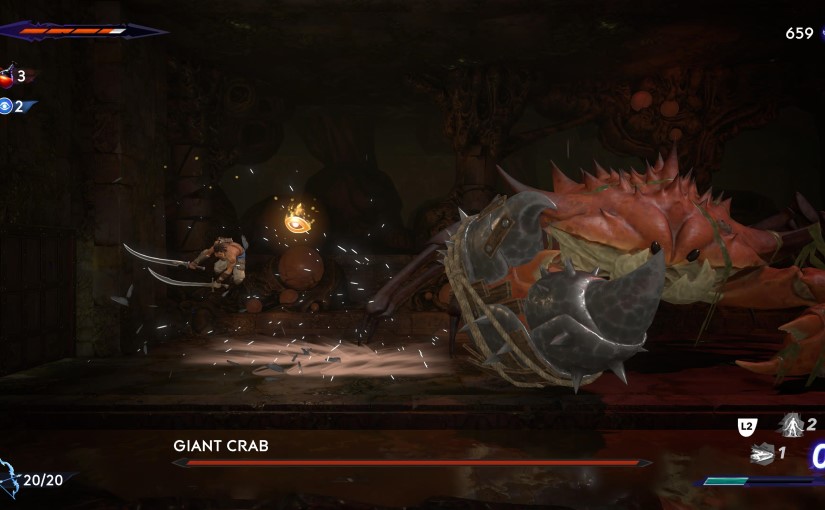
We were somewhat surprised to be confronted by a giant enemy crab in this area! A bit of a “big-lipped alligator moment” as they say, but I liked the crab, he had metal armour around one of his claws and Sargon had to get rid of that before he could do much damage. We beat him first time and headed on to the Sunken Harbor, where we found the entrance to the Pit of Eternal Sands. We couldn’t get in yet, though, and the old man was there, saying cryptic shit to us. We headed back to Haven for some upgrades and then had an explore.

We explored the Sunken Harbor and found another new area called the Soma Tree, which has a tainted forest vibe and there were antagonistic Ents walking around. The save tree here looked all knackered and gross and there was a weird head that wouldn’t talk to us, but the tree still healed Sargon and saved the game so whatever.
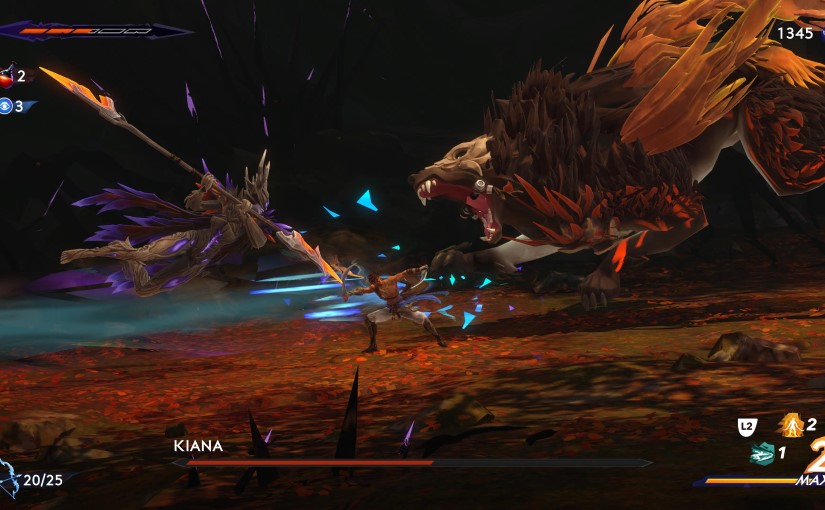
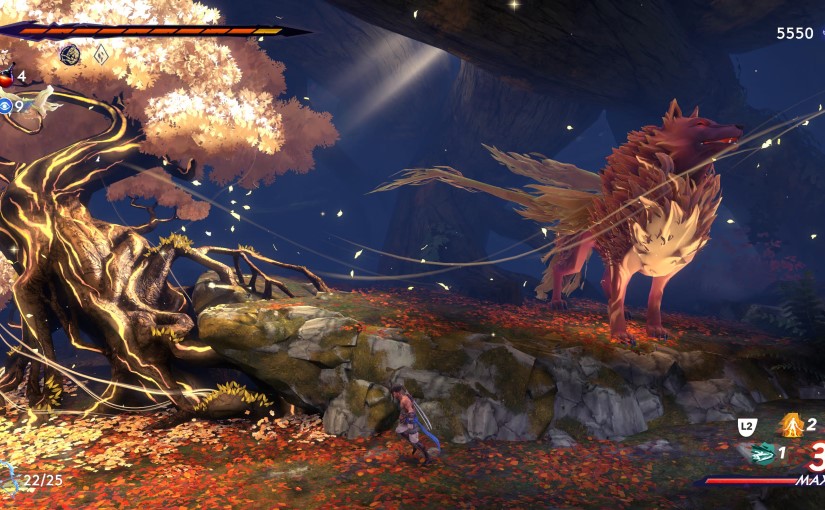
Soon after this we found a random child, who we had actually seen in the background ages ago but I had forgot to mention. Sargon spoke to him and he gave his name as Varham. Interesting. Sargon was nice to him and he disappeared. Not long after this we found another boss fight, a scary tree lady mounted on a giant, winged wolf. This was a badass fight and was very cinematic. It was the toughest fight yet and took me three tries. Sargon slew the tree lady and the wolf was freed from her control. He thanked us and headed off into the woods to live in peace.

We found another feather next, and now Sargon can take enemies into a pocket dimension and then throw them. Normal enemies will temporarily fight on our side after they’ve been pocked planed, but explosive enemies and items will cause damage and smash through breakable walls. This mechanic was used immediately to get out of the local area, but how are we supposed to explode the breakable walls we’ve seen throughout the map without convenient nearby explosive spores?
Anyway, we explored a bit more before bedtime and found a few interesting bits and bobs, most importantly a fight against a pair of alternate Sargons. We beat them easily and got another special move, and it was time for bed. The safety of the Kingdom of Persia will have to wait, I need my beauty sleep!
Session 6 – 20th October
I decided to sit down to a morning session before I did today’s exercise routine, and did so with my free hot chocolate from the local Co-operative. Sargon and I felt a little aimless when we started off, but the old man’s cryptic clues seemed to imply that the abilities Sargon would need to get into the Pit of Eternal Sands could be found in the forest area and the Temple of Knowledge area past the Sacred Archive. We got the forest one already, so we headed to the archive.
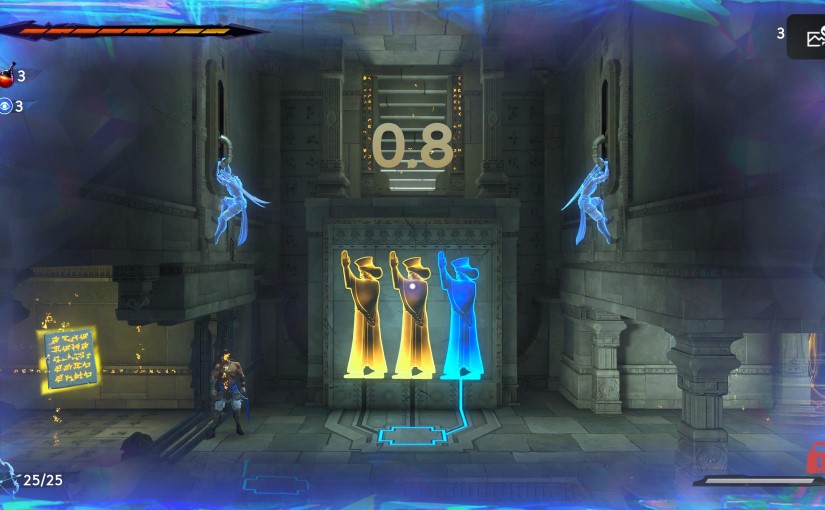
We found a series of pretty cool puzzles here where you have to activate an artefact that creates multiple versions of Sargon in turn, and you have to use the first two to prepare the way so that the final Sargon can get to the goal. They were good brain-teasers. We got to the third and I couldn’t work it out and concluded that we must need another ability, but I’m not sure. We bashed our heads against it for a while and then decided to look elsewhere, but couldn’t see any other ways forward in the Temple of Knowledge.

We headed back to the Depths and found an undead version of the early boar boss. We smushed it easily but at first it seemed we only got a child’s toy collectible with a creepy nursery rhyme about locked up children written on it, but on the way back into the undead boar room we were confronted with a hooded “old woman” that turned out to be one of the spider creature things and we got an amulet out of it. An interesting little side occurrence.
I should also note here that there’s a side quest where you find pieces of a prophecy and gradually unlock a large relief sculpture on a wall, and the prophecies seem to be mentioning “two princes” a lot. Hmm, maybe I am playing as a “Prince of Persia” after all. We’ll see.
Anyway, we finally conquered the Depths and moved on to the Sunken Harbor. We found some treasures and leapt around some spiky traps and made our way to a Wak-Wak Tree we’d previously discovered. That’s what the save points are called, by the way, Wak-Wak Trees. Sorry I’d not provided that information so far.
Anyway, it was time to get my workout on. Soon I’ll be just as ripped as our Sargon! This is a lie. I will definitely never be that ripped.
Session 7 – 20th October
It’s a post-exercise session, and Ninja Gaiden 4 is officially in the post! Judging by how much of the map is left and how we keep finding new areas, I don’t think I’ll be finishing this before Ryu Hayabusa and friends jump through my letterbox.
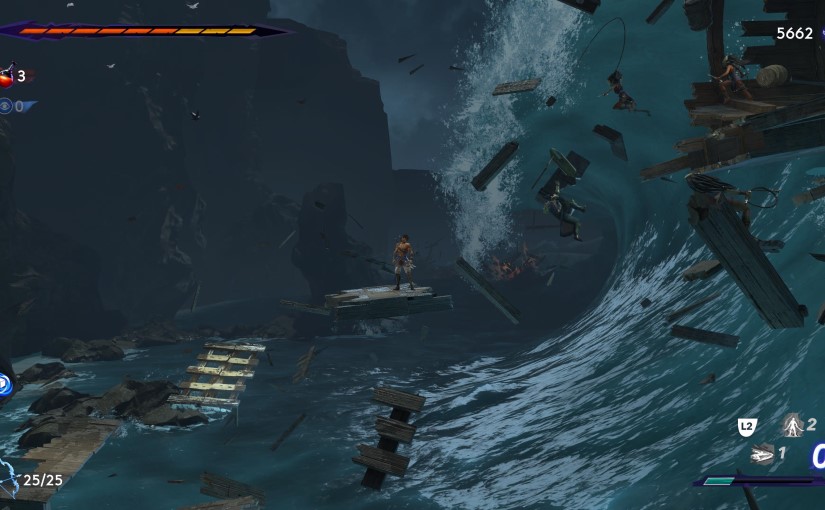
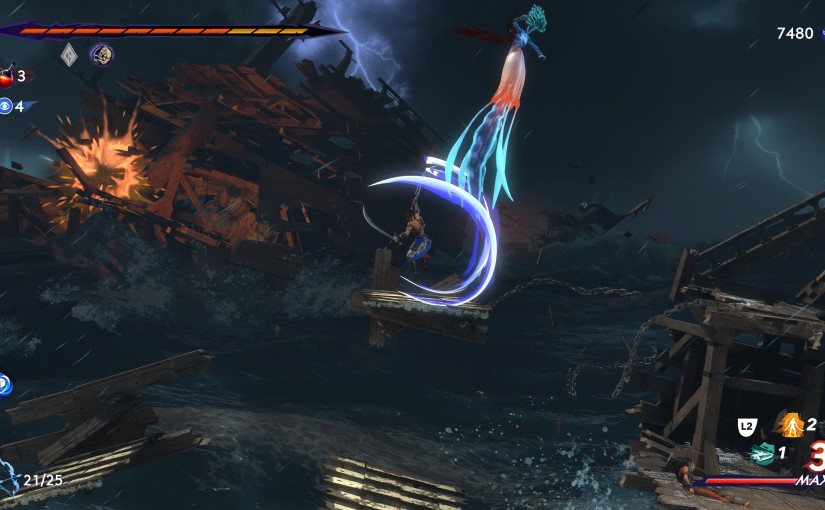
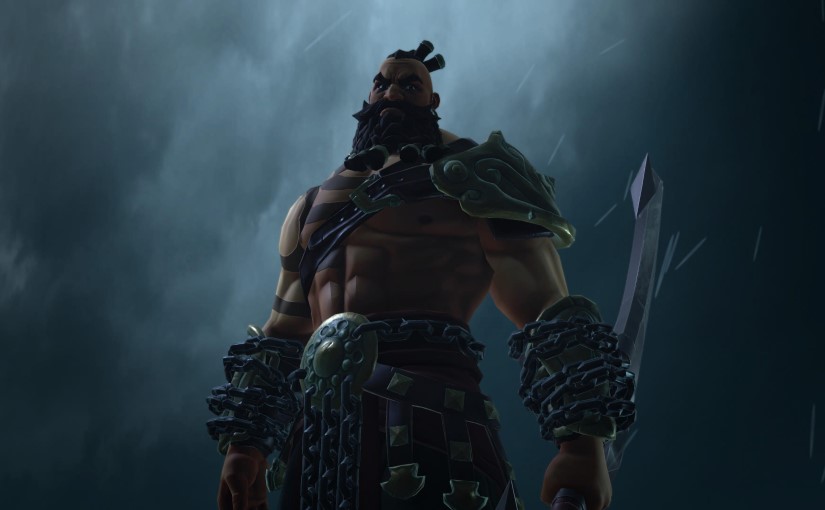
Sargon and I continued our exploration of the Sunken Harbor and spent quite a long time mooching about. We ran into a mimic chest creature, which I did not expect, and then we bumped into Orod, the big guy Immortal with the anchor weapon. He believes Vahram’s story and wants a fight, but wants to do it out to sea. We followed him and found the area that made me want to buy this game when I watched someone playing it briefly on YouTube, a gigantic wave, frozen in time, with ships and sailors being thrown everywhere. It’s an absolutely spectacular scene, but we can’t seem to get any further so we’ll have to come back later.

We’ve done all we can in the Sunken Harbor for now, it seems, although we did discover that explosives can be carried through fast travel using that dimensional pocket ability. This means that distant broken walls will just need to be broken through with explosives carried from far away. Using this technique we got back to the very first area and found that it has since been inhabited by giant birds! We fought a few of those and got to the very beginning of the map but mysterious sorcery keeps us on the mountain. Imagine of Sargon could have just walked home.
We couldn’t really see much else to do so we headed back to the Archive area to try those puzzles again that I mentioned in the last session. You know, the ones where you have three versions of Sargon attempt an area in turn. I finally got through the puzzle I’d given up on before – it turns out you just need to be fucking quick. Like, really bastard quick. The next puzzle was clever but we figured it out, and the next thing we knew Sargon had found another feather and gained a dimensional shift ability that allows him to use or pass by interdimensional barriers. It’s not a double jump, and there seem to be so many inaccessible areas that Sargon would need a double jump to get to, but it’s still good, as we’ve run into loads of the mystical blue barriers, too.

After claiming this feather we finally got to take on the Jailer, the big guy who put us into jail with his horrible stick. This is a hectic fight with adds, and it took me a few tries. During the second wave one of the adds is one of the guys who can possess Sargon and reduce his maximum health drastically, and if he gets you it’s incredibly hard to emerge victorious. We got him in the end, though, and claimed his key to open all his jail doors. Between that and the dimension-shifting mechanic lots of stuff is opened up to us now.
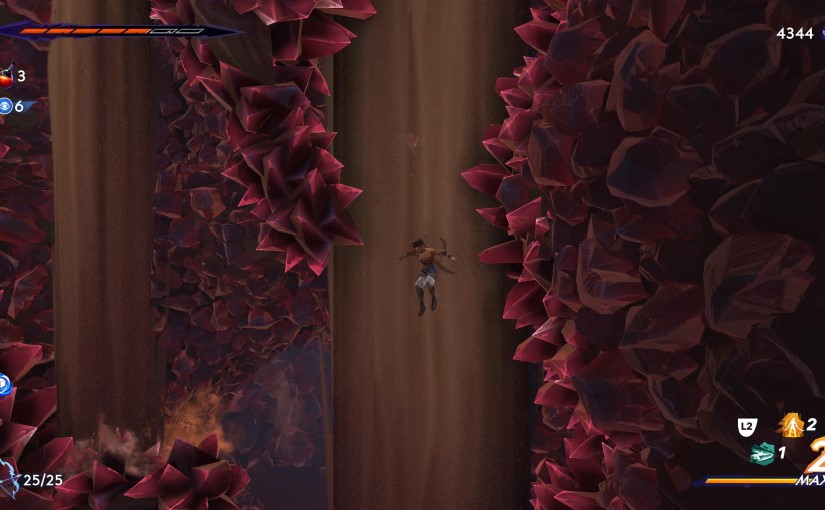
We did a great deal of exploring after this, going all over the continuously expanding map and finding bits and bobs, until eventually going to unseal the entrance to the Pit of Eternal Sands. This place has been built up quite a bit and it is very cool, with some neat backgrounds, giant crystalline thorns, and giant sand waterfalls. It has a very Arabian Nights feel and I like it. I had only planned to have a quick look at this place, but Sargon and I ended up exploring it extensively. We found another Sargon and got his special move, and eventually reached the old man and a Wak-Wak Tree head person who were building up our next foe; a creature known as Azhdaha, who I’m predicting is going to be some kind of snake creature.

We’ll have to find out next time, though, as I ended up playing for ages and needed to get on with other stuff! See you next session.
Session 8 – 20th October
Yet another session, a late one this time, and it looks like we’ve got to unseal this Azhdaha’s lair before we can fight it. Upon going after the seals Sargon and I come across lots of crushing blocks that look a lot like snakes, so that’s lending credence to my “Azhdaha is a snake” theory. There are also giant centipedes around, too, so maybe it could be the centipede queen.
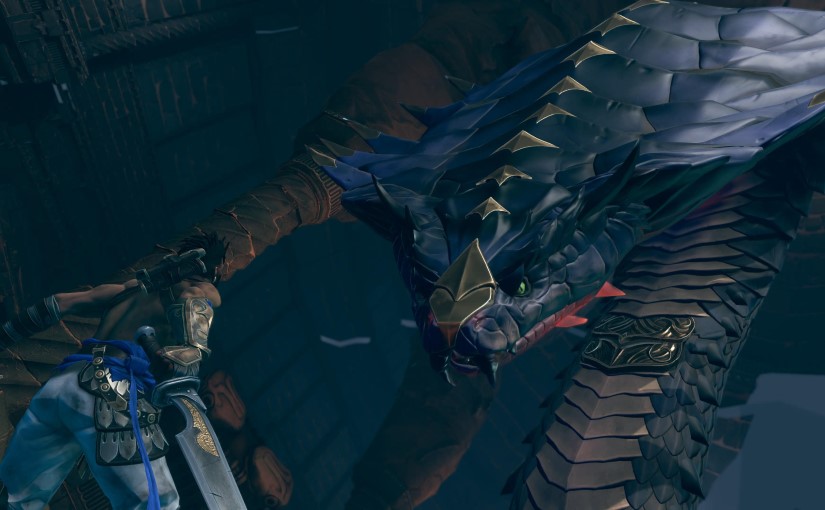
Nope, we got Azhdaha’s seals sorted and she’s definitely a snake! A very big cobra type snake with quite the piercing gaze. It was a pretty cool boss fight that we beat second time, and the big snake spoke to us afterwards. She gave us four special arrows and told us to activate four constellations. We work for the snake now? She showed us where the constellations were on the map and one was right next to us, two more were at high points on the map we haven’t explored yet, and one was miles to the East past the ocean area! How big is this game going to get? Azhdaha also gave us a feather, and her dialogue indicated she kind of just wants all this over with. The feather gave us the double jump. Finally, the fuckin’ double jump!

We met the old man again on our way out of Azhdaha’s lair, and he finally gave his name as Alkara, and then Sargon and I engaged in lots of double jump-enabled exploration. We decided to go after Orod and used the double jump to progress past the tidal wave area, and this led us through a spectacular ship battle frozen in time, with frozen lightning strikes and shattered, sinking ships and everything. It really is quite the spectacle, really awesome. Also, there’s jellyfish.

This path also seemed to be leading us to the aforementioned distant constellation too, but I had to call it a night as I was getting tired. Progress is being made, but I can’t see myself beating it before Ninja Gaiden 4 arrives.
Session 9 – 21st October
For this morning’s session Sargon and I decided to fast travel out of the crazy paused ship battle and do some more double jump exploration in other map areas, and even though I played for quite a while I never ended up going back to go for Orod, so this was one big exploration session.
We revealed more of the relief carving and there are mentions of three princes, and one of them having to die. I now think that Sargon and Vahram are also princes. Princes of Persia, one might say.
I did get a crash, actually, while saving at a Wak-Wak Tree, and lost about ten minutes of exploration progress. I’ve had a few inconsequential glitches, like Sargon floating for a second, floor textures flickering, particle effects staying around for longer than they should, and I possibly think explosions are a little glitchy as a few times I’ve felt like Sargon was thrown across the room after the explosion had cleared. This was my first actual crash though.
We did some more Archive exploration and encountered some really tough platforming and puzzle challenges. In fact, a couple of challenges at the top right of the map felt like such BS that I had to move on. I mean, it’s not like I’m going to 100% the game is it.

We further explored the Upper City after this and encountered Menolias, who was very upset with Sargon. These Immortals need to think for themselves. Towards the end of this exploration session we explored a secret area that’s partway up the main elevator (I got a trophy a while back for discovering it) and engaged in a marathon rotating spiky deathtrap encounter. Our reward was clothes – a lovely new lilac look for Sargon – and that was the end of the session.
Session 10 – 21st October
We headed back to the stormy seas for this session. Sargon beat up a time crystal and the ocean started moving again, making the scenery even more awe-inspiring. We met Orod out in the sea and he made a big show, but we beat him first time and it was pretty easy, despite Orod being a flashy fighter. He believed Sargon in the end and then disappeared into golden light. He was just walking around and chatting when he did so, though, so I’m not sure if he died.

The fight with Orod was next to the far-off constellation point that I’d previously mentioned, so we got that one activated. These constellations are also called “Celestial Guardians”, and there were two left, both in the Upper City. That was our next destination.
After plotting some more of the Upper City map we faced off against Menolias near the westernmost constellation point. This fight was way harder than Orod, as Menolias was really difficult to even get close to and had a nasty counter-attack move ready if you did catch up to him. I didn’t keep count, but I’d say it was the fifth or sixth try when we got him. This was the hardest fight yet by far. Just like Orod, he accepted Sargon’s innocence upon defeat, and then disappeared in golden lights. This came across like he died, though, and Sargon even commented on his death. Sad times! He looked like Bard until the end.

Defeating Menolias earned Sargon the ability to teleport to his chakram. I don’t think I’ve mentioned it, but the chakram is the secondary ability of the bow, so this should be a super-helpful ability.
Anyway, slaying two immortals was enough for one session. I might squeeze another session in later.
Session 11 – 21st October
A got another one in! During this session I was distracted by loud children and the fact that Ninja Gaiden 4 had arrived. I need to stick this one out before I let myself go on that one, though!
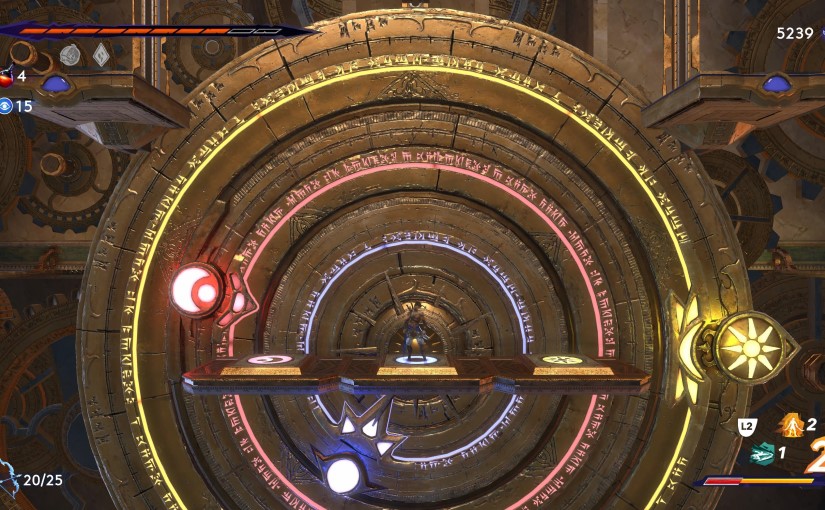
Anyway, Sargon and I headed for the last constellation and came face to face with a fairly elaborate puzzle where you have to use the pocket dimension thing on these pink crystals to activate things and then align a big turning multi-wheel thing. We got past this and met up with Anahita. I’d almost forgotten about her! She said she kidnapped the Prince on the Queen’s orders, and offered to help Sargon but Sargon can’t trust her. There’s no immortal fight before this constellation, just the puzzle and the brief meeting with Anahita. After activating the final constellation the quest log told us to go to the Altar of Constellations so that’s what we did. It’s a place we’ve passed through before.

After activating the altar, Sargon went back in time to when Vahram killed Prince Ghassan and stopped the heinous crime! Anahita got killed instead and past Sargon was confused, but there was no time to explain because it’s a Vahram fight! This is a cool fight as past Sargon helps early on, and Vahram has loads of cool time powers. Got him on the second try.
A cutscene ensued explaining that Vahram is King Darius’ son and the rightful heir, and that Darius was killed by the current Queen. She’s the usurper! That’s why the Simurgh has gone and Persia has had 30 years of drought. However, Vahram has taken things way too far, so he’s still a bad guy too. It’s not over, as he’s still at large and wants all the power. Anahita drifts away in golden light and the two Sargons merge and Sargon gets the grapple ability using his sash (that the Queen gave him). Prince Ghassan is just stood there all like “what just happened?” He says we need to go to the Tower of Silence next to get a key. We’ve been there before. It’s very chilly.

We explored with the new grapple sash ability and found the architect of all these traps and crazy halls. She gave us a quest to complete all of her puzzles around the map but I’ve only done around half of them. For a long time I thought they were something I’d need to come back to but then I worked out a couple of them and realised I could have solved them as I got to them. I can’t remember where they all are though and there are some I can’t figure out. She won’t let me inside her workshop unless I solve all her puzzles. Oh well.
Next we went to the Haven and the shaman woman there had a new item to sell. It was an item that allows Sargon to fast travel between Wak-Wak Trees! This is huge! The previous fast travel statues were few and far between but the Wak-Wak Trees are somewhat plentiful. Getting around is now so much easier.
We found a lighthouse beyond the forest area which had a long and difficult grapple-jumping section to get to it and Sargon fell off (it was my fault). Instead of losing health and respawning, though, he fell down to a brand new area in the ocean section with a giant warship suspended in mid-air!
We also found a hermit somewhere who challenged us to complete an “impossible climb”. I tried it a few times and, well, I can’t disprove its title yet. That was enough for this session. I’ll definitely finish this before I play Ninja Gaiden 4, though. I’ve got to be near the end, right?
Session 12 – 21st October
This was a very late, post Dungeons & Dragons session, but I felt pretty awake so felt like I could make some decent progress. We started by attempting that “impossible climb” again but gave up after a few tries as we wanted to get moving, so we headed off to the Tower of Silence, which was appropriate considering at the time my right ear was playing up and I couldn’t hear anything through it.
This place had lots of sharp ice crystals and spikes and grapple platforming. We finished a side quest here to face all of Ardashir’s lost warriors and fast travelled out to face time-crazed Ardashir himself. He was a pretty easy fight but at least I vaguely remember him from early in the game now. It seems he was the Queen’s general.

Back to the Tower of Silence and we found Farina and bought her map of the place. It’s huge but currently we had to focus on opening a door by sounding three goings. However, we were distracted once again as we finished another side quest, the prophecy one. The finished prophecy was kind of ominous and the carving showed Vahram with four angel wings. Final boss preview, maybe?
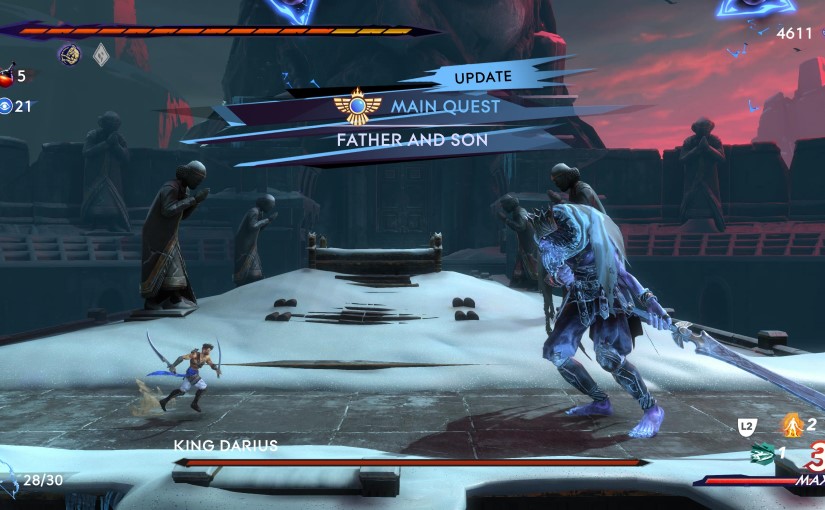
Back to the Tower of Silence again and we found Vahram at the top with the remains of his father, the great King Darius, who we’ve heard so much about in the lore collectibles. Vahram was talking about ascension and stuff, and then he disappeared and his father rose from the grave. Undead king boss fight? Undead king boss fight. It was a cool fight, the late King Darius was very big and had a very big sword. We killed him third try, but the second try was a bust because I was distracted by taking notes for this diary. We got a key for his palace for defeating him, and headed back towards Upper City. Neith was waiting for us. I’d almost forgotten about her! She was worried about Sargon being corrupted by the Simurgh’s powers.

We decided not to go into the palace tonight but we did decide to go for a quick climb. An “impossible climb” some might say. Well, we proved it wrong and succeeded in getting all three magical bells, and all we got was a lousy bit of metal and some background lore about a baby being swapped. At this point it was about one in the morning, so it was time to stop. With a bit of luck I’ll finish the game in the morning and be able to make a start on Ninja Gaiden 4 in the afternoon.

Session 13 – 22nd October
Unlucky Session 13 starts off with some map clean-up. There was one Xerxes coin that Sargon and I were having massive trouble with in the very top corner of the Temple of Knowledge map. It’s in a tiny square area surrounded by spikes with these blocks that fly in from the foreground, and you have to activate these blocks and stand on them without them crushing you, and it can fuck right off.
I watched a video of someone doing it online and it seemed that I was overcomplicating the block summoning with teleportation when I didn’t need to and it was more about timing double jumps. With this information in mind I managed it after another few goes. That left what I thought were two more architect puzzles. I decided to look them up, too.
The one in the Pit of Eternal Sands, well I’m glad I looked it up. It had two crushing blocks and two statues looking over it. I’d messed around previously and thought that maybe I needed to grab an enemy in the pocket dimension thing and sacrifice them with the blocks and it didn’t work. It turns out that you needed to sacrifice a specific statue enemy from the Upper City, which I think was a bit of a stretch to figure out on your own. I mean, sure there are statues watching over the crushing area, but still.
The other architect puzzle I thought I hadn’t completed was the Sunken Harbor noughts and crosses one but it turns out I had. I had no recollection of this until looking it up and remembered you had to use the chakram to finish the row of noughts, and the chest that appeared was a mimic and everything.
With all the architect puzzles done Sargon and I went back to the architect and solved one more neat little puzzle using the map emblems and got inside the workshop! There were a load of lore items and the last health boosting item. I congratulated myself heartily. Well done me.
All that was left at this point other than the final confrontation were a few bits of lore and the platforming and combat challenges in the Haven. We tried one of the challenges once more and I decided we should go and fight a god-powered immortal warrior prince. It would probably be easier.

There were a few more rooms and battles to negotiate beyond the palace doors, and then Sargon finally reached Vahram. He was after the heart of the Simurgh, and he asked Sargon to join him once more. Sargon refused and Vahram merged with the heart and buggered off into time and space. Sargon despaired, but the Simurgh itself spoke to him and told him to accept all his alternate selves as a part of the whole. Sargon still wanted to save Vahram and that gave him strength.
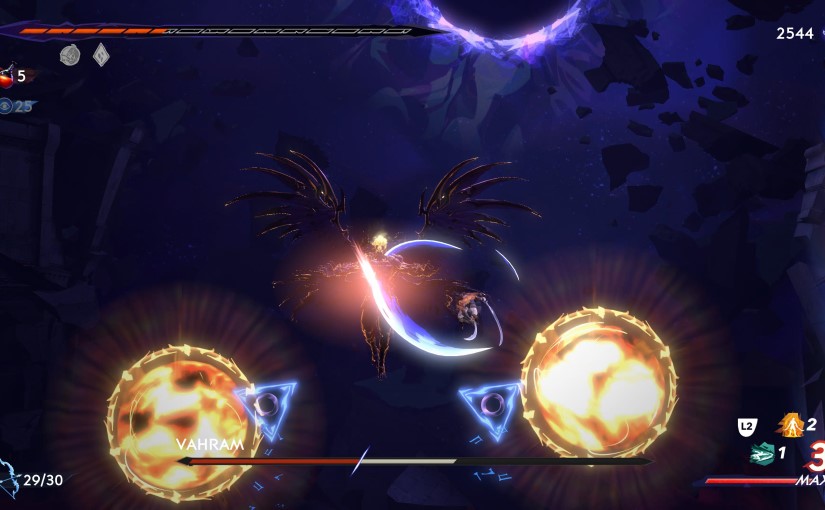
We negotiate one more simple platforming section in a big space/time vortex thing and then it was time to meet with Vahram, god power Tron lines and four angel wings and all. A truly epic fight ensued, and Sargon and I got to his third phase on the first try. The second phase added a giant sword to the mix and the third added a self-cloning ability for big V.
The fourth phase was awesome, as Vahram went super-powered but so did Sargon, enhanced by the Simurgh itself. Once on equal footing, Sargon managed to finish Vahram off. Vahram came to his senses and sacrificed himself to return the Simurgh’s heart, and the game had been completed.

The ending showed Sargon returning with Prince Ghassan. They both left, but not before Sargon exposed the Queen’s murder of King Darius to her people. Then Sargon sat alone by the water and a bird flew down next to him. The reflection revealed that it was the old man, Alkara, before he flew off again. Sargon also mentioned that Orod, Menolias, Radjen, and Varham all died, but I didn’t see Radjen at all aside from a couple of brief early encounters. What’s going on there then? Post-game content?
The post-credits stinger showed that Neith and Artaban had brought the child version of Vahram back from Mount Qaf and promised to raise him well and look after him, and then Sargon rode off. So he wasn’t a prince? Were the three princes in the prophecy Ghassan, Vahram, and young Vahram? Who was the switched baby? Have I played as a Prince of Persia or not?
Anyway, this game was great and I’d recommend it to anyone. Bastard hard at times, but mostly in optional sections. In a way, I’d say it’s the opposite of Metroid Dread, in that the really tough bits in that were the bosses, whereas the boss fights in Prince of Persia: The Lost Crown are like days off compared to some of the platforming. The only boss I had any real trouble with was Menolias.
Anyway, like I said, this was a fantastic game, and was a great introduction to the Prince of Persia series for me. Am I going to play any more? Probably not, but that doesn’t mean I didn’t like this one.
